Installation Guide
Titan DW - Joint Installation
TITAN DW has been designed to cover all kind of applications. Therefore the system has been tested in different scenarios to proof different combinations of temperature, pressure and corrosion resistance.
TITAN is super easy to install due to the simply push fit system and secure wider locking band.
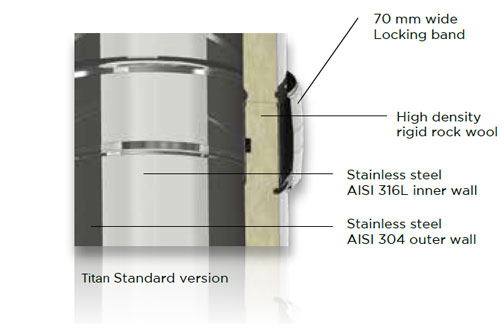
CUT AWAY VIEW OF THE TITAN TWIN WALL SYSTEM: Standard Install
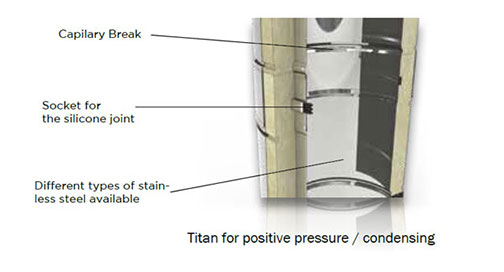
CUT AWAY VIEW OF THE TITAN TWIN WALL SYSTEM: Condensing
Titan DW - Joint ends
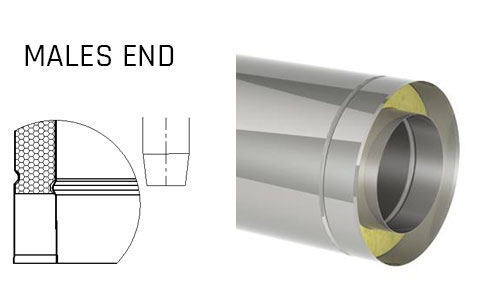
Male End Of Flue Pipe
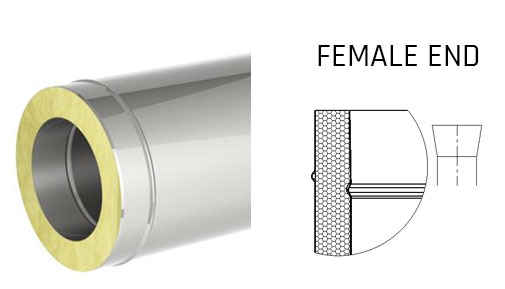
Female End Of Flue Pipe
Titan DW - Preparing the Install
Before you install your twin wall system you will need to do a few things to make the installation as easy as possible.
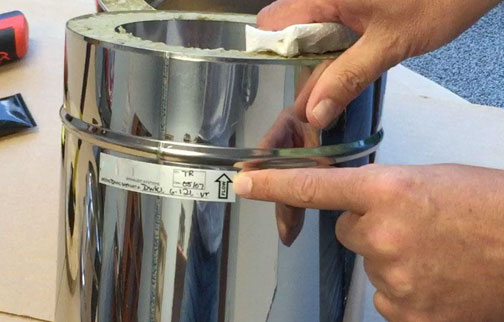
Gas Flow: Direction
On the flue liner you will see a gas flow direction arrow. Please make sure the arrow facing upwards and consistent the entire route of the install.
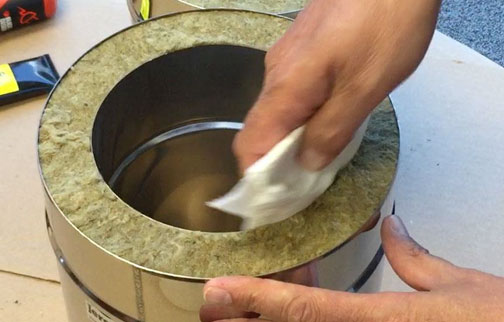
Titan: Cleaning The Female joint Connection
With a Lint free cloth clean the inside of the female end the joint connection to remove any debri or oils.
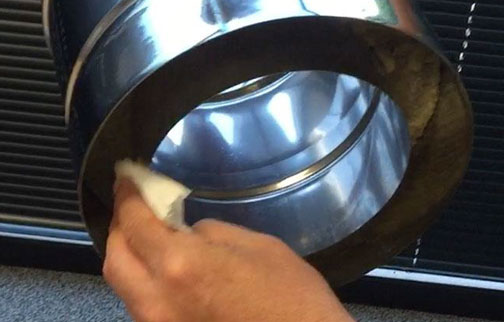
Titan: Cleaning The Male joint Connection
With a Lint free cloth clean the inside and outside of the male end the joint connection to remove any debri or oils.
Alignment: Getting Into Position
Carefully place each piece in place – align carefully and gently slide into position.
Titan DW - Push Fit into Place
Now you have the joints aligned its time to push the joints together.
Joining: Pushing The Twin Wall Together
Push the joints together to make a proper connection so there is no gap/space left at the joint.
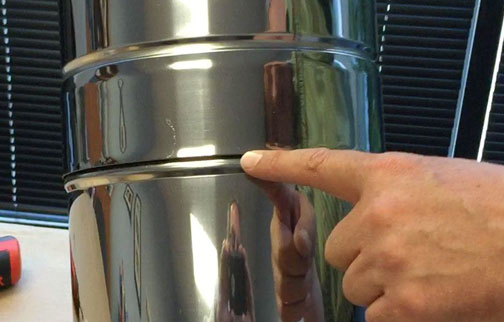
Check: Inspect the inner Liner
Make sure that the inner liner protrudes only about 1/8“ above the insulation

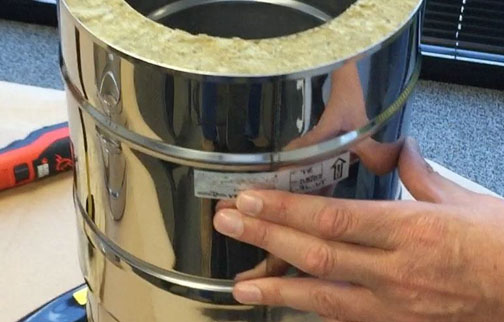
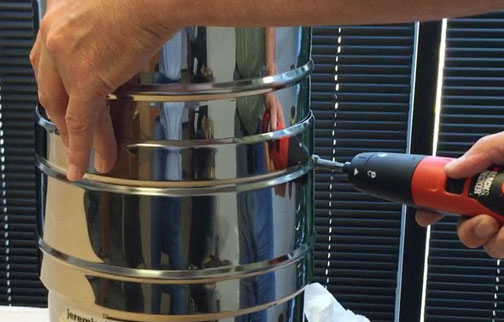
Titan DW - Installing Locking Band
The final step is to install the locking band. The band can only be attached one way so please be aware of alignment. The band will cover the joint at the top and bottom.
Locking Band: Align And Tighten
Move the Outer Band into postion and tighten down with the screwdriver.
Finished: Assembly Complete
The finished joint of the two pieces shows you how quickly and easily you can assemble.

Titan DW - Additional
The Installation shown above can be mirrored to any Titan DW products: Adaptors, Bends, Tee Pieces, Terminals.
Please Note: Turner & Wilson does not know the exact situation or circumstances of your home and/or quality of the products already in place. Although the advice and the guide provided will be based on the details submitted by you, any person who relies upon any advice provided by Turner & Wilson given by email, phone or which is contained in any part of the website, does so at their own risk. Turner & Wilson therefore accepts no duty or liability whatsoever, other than a duty to act honesty in good faith.